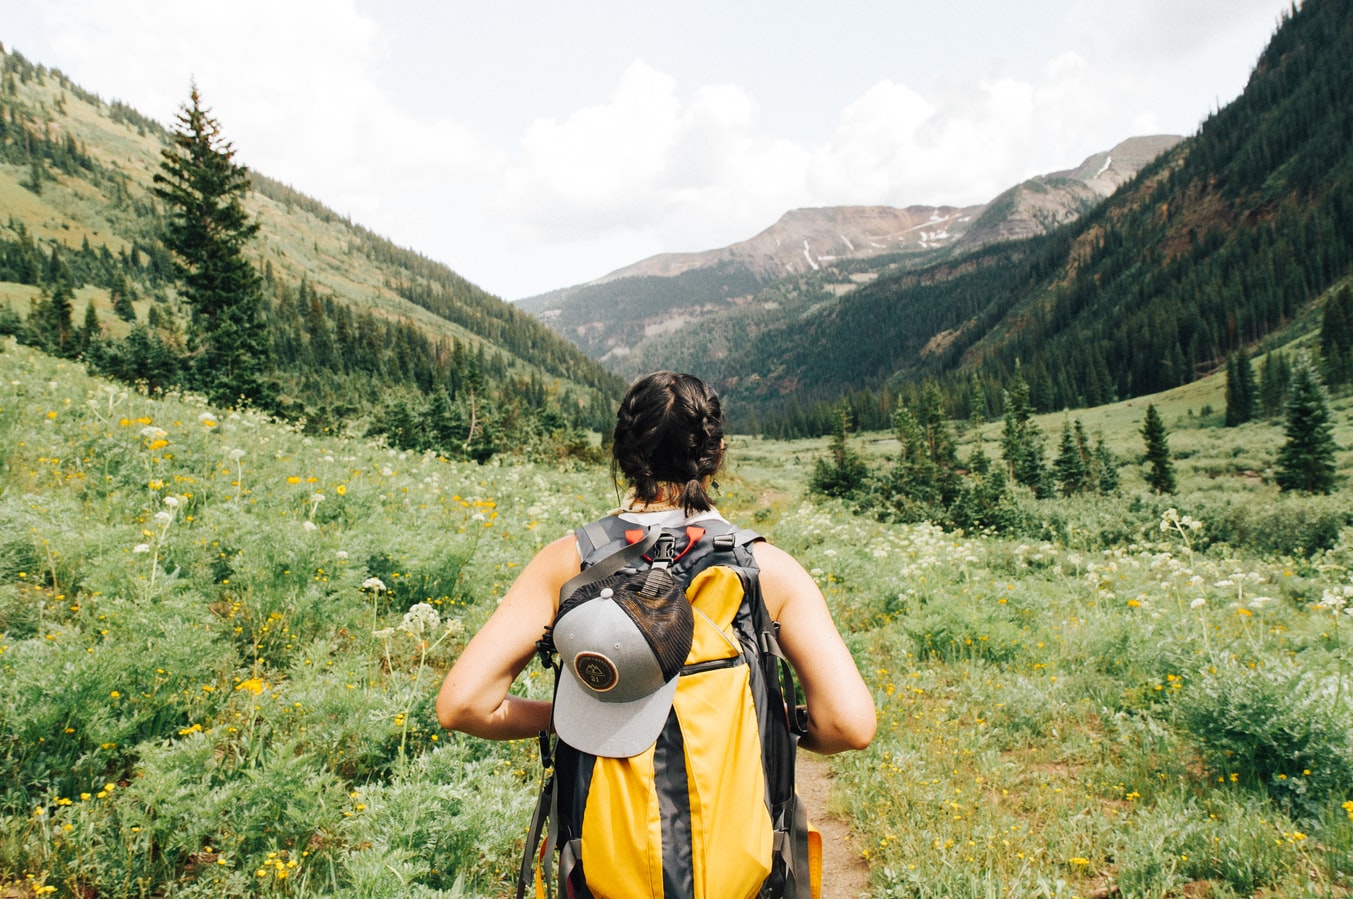
Advantages of Outdoor Photography
Before going in-depth about the tips and tricks of outdoor photography, let us get to know in detail the advantages of being an outdoor photographer.
As we know by now, once you are into this profession, nature becomes your best friend. You can use your magic to turn mother nature into more magical and appealing to the eyes.
Some other advantages of outdoor photography include:
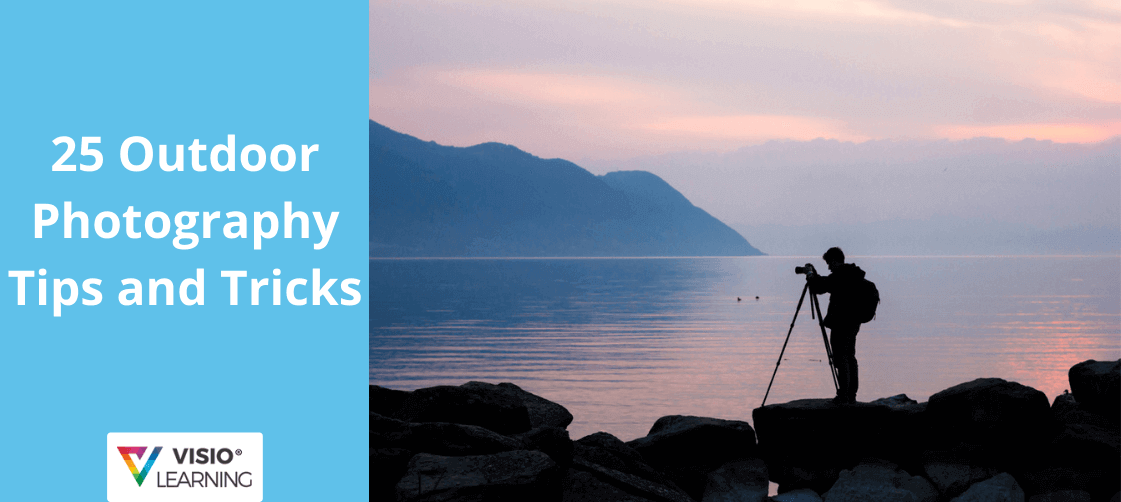
25 Tips and Tricks for Outdoor Photography
Regardless of whether you’re taking photographs of wonderful love birds at an outdoor wedding shoot, of stunning scenes while voyaging, or even of your delightful doggo at the recreation centre, you need your outdoor photographs to be first-class and look extraordinary to everyone.
Now that we have a clear idea of outdoor photography and its beautiful advantages for a professional photographer. Let us now discuss 25 most effective ways in which you can be a world-class outdoor photographer.
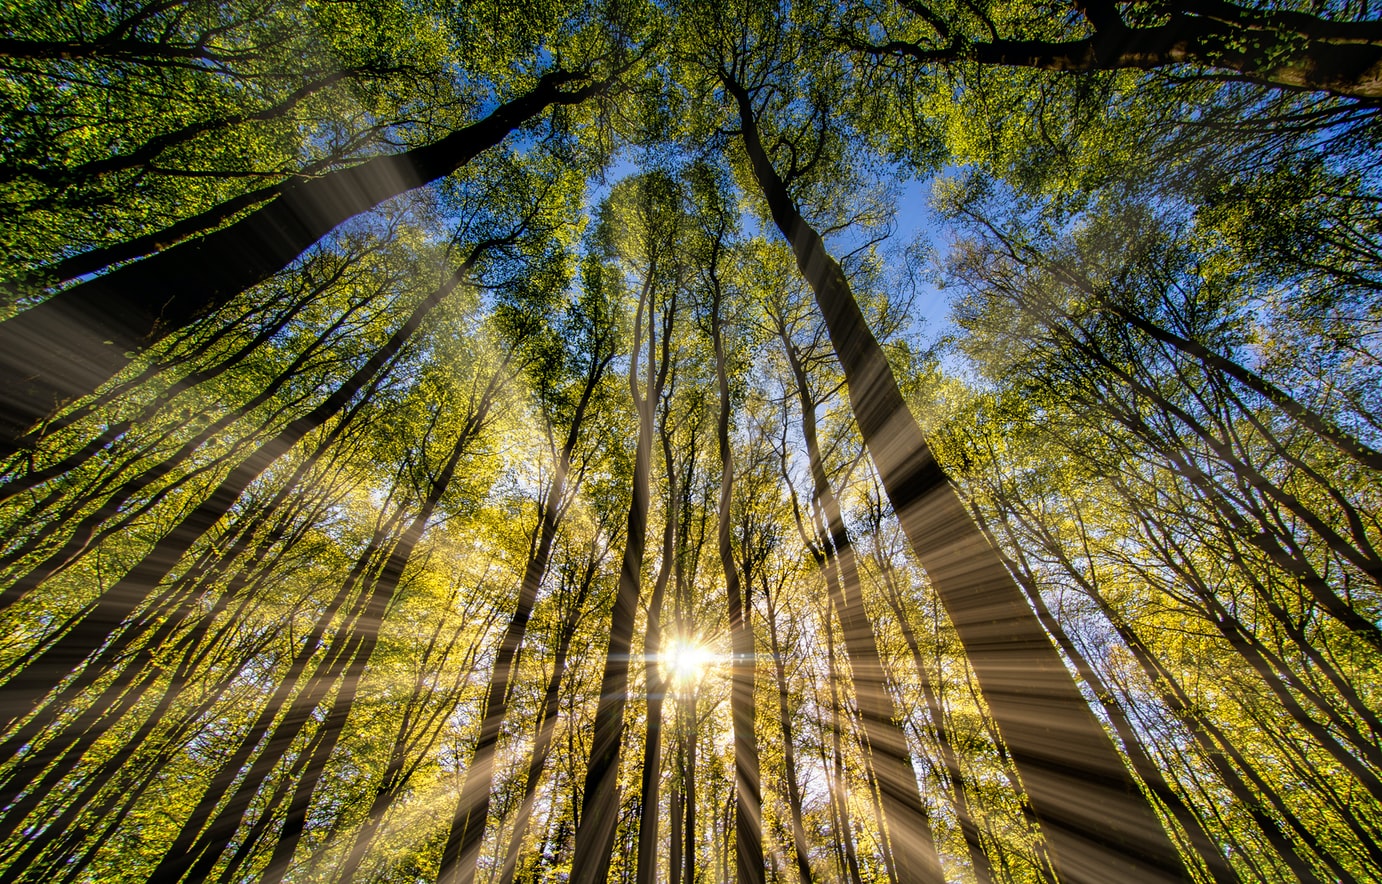
Tip 01: Make Correct Use of Natural Light
Natural light is the best filter and making correct use of it in your picture is very important.
Always make sure that you are not taking the photo by directly facing the sun. It makes pictures look dull and dark. Try taking photos from the sun’s opposite direction. It makes the people look in the photo more bright and enhances the landscape to a greater extent.
On the other hand, when the sun is just about to set, the sky turns into a pleasing palette of yellow ochre, purple, and light pinkish colour. This natural colour palette gives you a background for your photos.
Also, a panoramic image on a bright sunny day gives you a good capture of the landscape and scenery.
Tip 02: Filter Out The Sunlight
If you don’t want the sun’s light to outshine your photos, you need to use a polarising filter. This filter is a fantastic piece of equipment if you’re going to limit the sunlight to a few spots and only focus on the landscape or an individual.
The polarising filter acts very well if you want to adjust the saturation of your photos. You can increase the saturation level to outshine other colours apart from the light itself.
For example, if someone is wearing an aqua blue dress in the portrait, you can exchange that colour by making the sunlight dimmer.
Tip 03: Correct Use of Lens
If you are doing outdoor photography, sometimes you want to capture some things that are too far away from your eye-sight at a reasonable distance. For this, you need to use the correct set of lenses for your camera.
Regardless of whether it’s natural life, a landmark, a mountain, or an individual, you can utilise a zooming focal point to make far away components show up a lot nearer while keeping up the nature of the shot.
Suppose, there is a waterfall situated very far, and it is inaccessible by road. In such a situation, you can use the lens to focus on it.
Tip 04: Pick Your Golden Hour
Every photographer needs to have their golden hour selected. Golden hour means the time of the day in which you prefer the lighting and the environment.
Some people like taking photographs right after sunrise, whereas others prefer sunset. Pick your time wisely by considering your theme for the shoot, colour variance as well as the environment at that hour.
Some outdoor photographers prefer taking photos in a pure, secluded location, whereas the hustle and bustle don’t matter for others.
But, always keep in mind that everyone has different preferences and styles; therefore, it is completely fine if your taste doesn’t match anyone.
Tip 05: Don’t be Flashy!
Using a camera flash while shooting outside is not necessary. Especially if the sun is behind you, using the camera flash can ruin the picture quality.
It can either make a picture look artificially bright for the eyes or make it look extremely pale.
Notwithstanding, an off-camera glimmer can overwhelm a portion of the late morning sun and help mollify an amount of the more severe shadows.
It is precious if you’re taking shots straightforwardly at the sun, as it will help diminish the dull front shade of the component you are shooting.
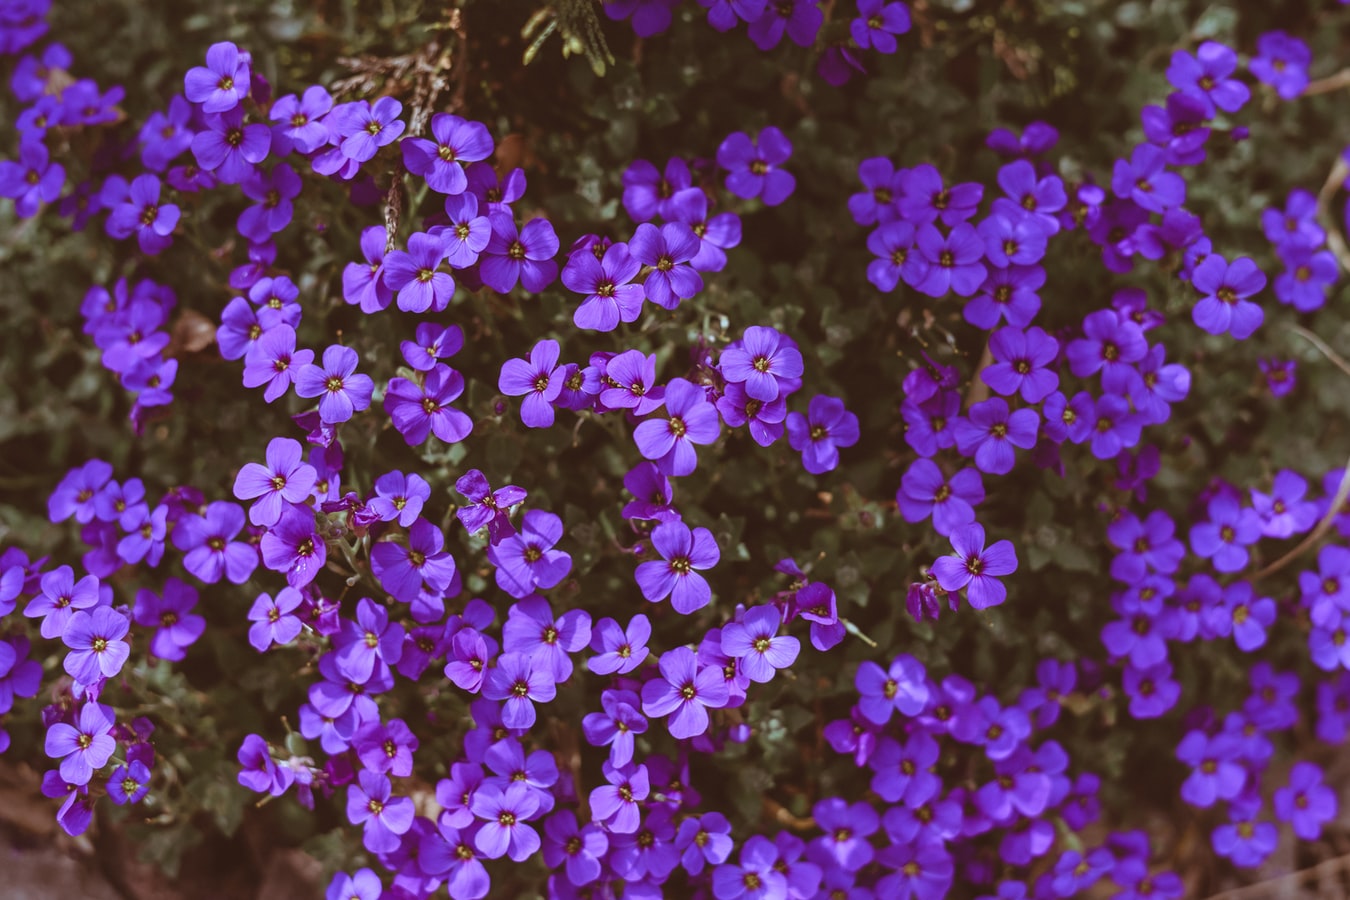
Tip 06: Use Natural Props
The use of props always enhances the picture quality. Unlike indoor photoshoots, where you have to arrange artificial props to go with a theme, outdoor photography is blessed with many natural props.
For instance, if you are doing an outdoor bridal photoshoot, use natural props such as blooming flowers and put them around the person to create a lovely floral theme.
The same can be done when you are on a beach; you can use the seashells and small stones to add more texture to your masterpiece. It would add a more natural effect on your captures.
Tip 07: Catch the Action
Try catching moving objects such as an animal running or birds flying away. Catching action also implies to humans. For instance, you can take shots when your client/model is running or swaying their hair into the air.
These action or motion-based portraits are very captivating to human eyes. Moving your camera on purpose is a great way to capture motions and add some perception of zestful movement.
Motion captures always come out very aesthetic and look very professional. It serves well in giving out the impression that a pair of experienced hands clicked it.
Tip 08: Believe in Simplicity
There is a universal saying, “Less is more”. We sometimes forget this and focus on making things look very grandeur and over the top. The true essence of beauty is in simplicity. An outdoor photographer should believe in simplicity and bring out that in their work.
As an outdoor photographer, you can focus on just one or two elements. It is essential if this is just on nature. For example, if you are in a floral garden, try not to take pictures of all the flowers together. Instead, focus on one or two flowers, similar or contrasting, and take the click.
Tip 09: Add Filters
You can improve your photos by using one or two filters. A polarising filter can make the shade of the sky look deeper and permit you to see into lakes and streams.
A graduated neutral density filter, when utilised appropriately, can assist you with staying away from the standard-issue of underexposed woodland and overexposed white mountains in a similar photograph.
Tip 10: Be Hydrophilic
Hydrophilic means water-loving. You have to be a “water-lover” if you are into outdoor photography because outdoor photography involves a lot of effort in bringing out the beauty of natural things such as water bodies.
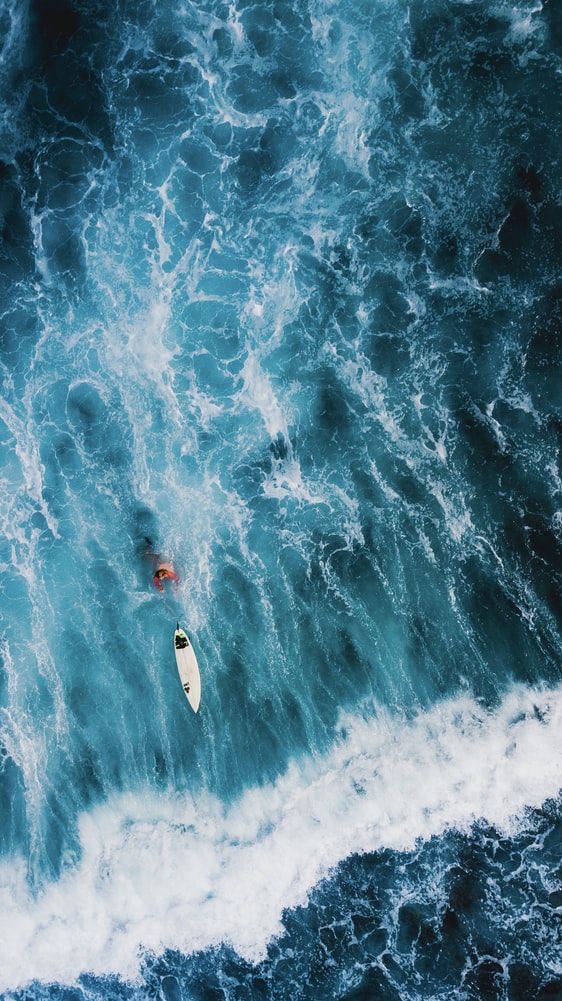
Breathtaking captures of moving water, the different shades of blue that forms in it, can take you a long way. Water is a form of relaxation. Water-centric portraits catch the eyes of a lot of people.
You can use a tripod and slow shutter speed to capture the beauty of blurred, moving water, the wave formation and the foams. Sometimes, you will notice some sparkling, crystal-like formation on the water. You can use your camera lens to capture that.
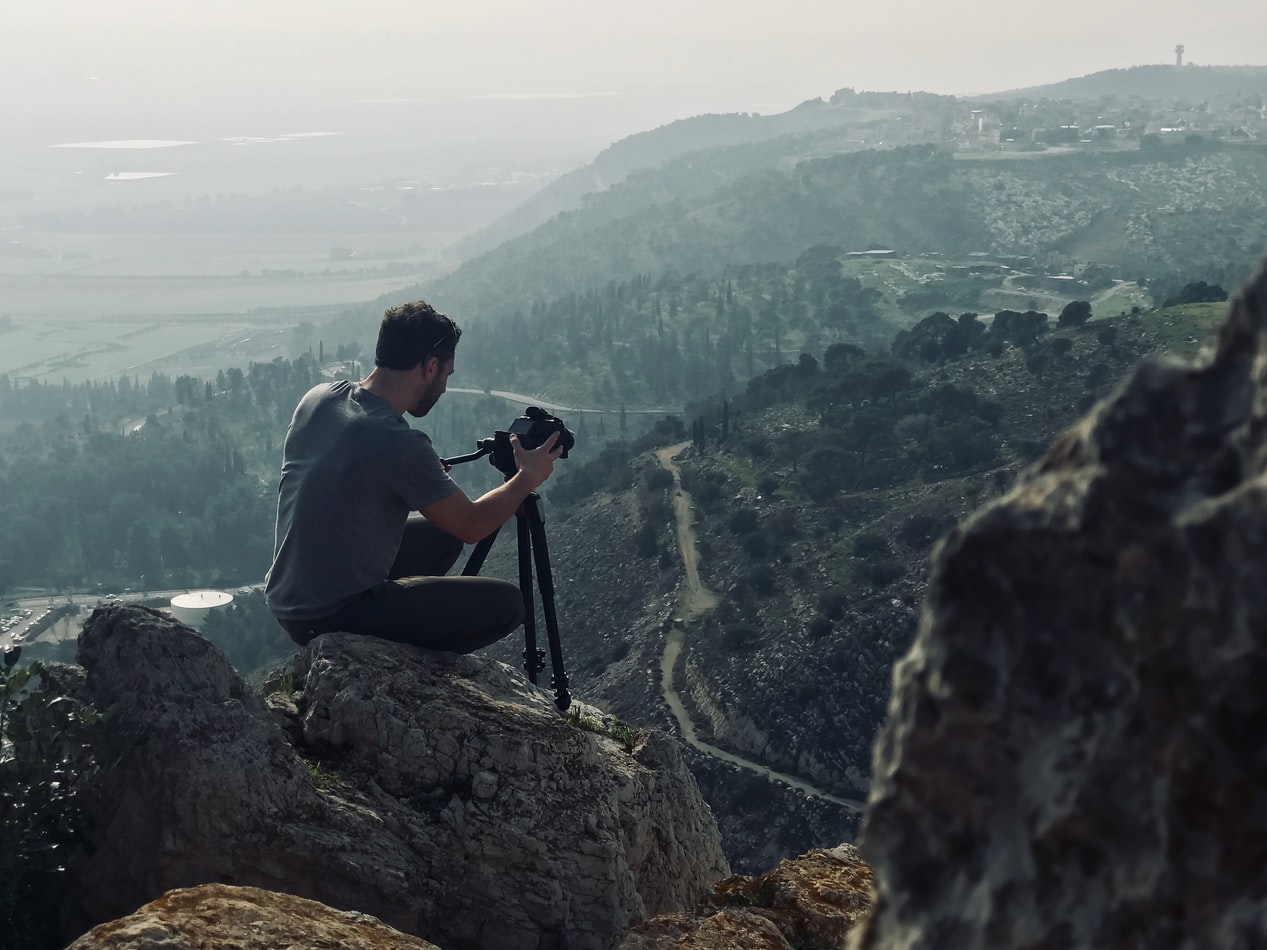
Tip 11: Carry a Tripod
Tripods play an essential role in making your photographs better. By using tripods, you can get more explicit photos, take motion pictures and control the speed.
For example, you are doing an outdoor birthday photoshoot in the woods; you can use your tripod to take photographs from great lengths, in different motion, and from treetops.
Tip 12: Think Out of The Box
Another way to boost your photos’ creativity is to move away from your comfort zone and think outside the box.
Try to bring out a different perspective towards a familiar themed photoshoot and note down ways to make it more unique.
You can conduct extensive research on the latest trends of outdoor photography, follow the world-famous outdoor photography pages and the photographers to get more ideas.
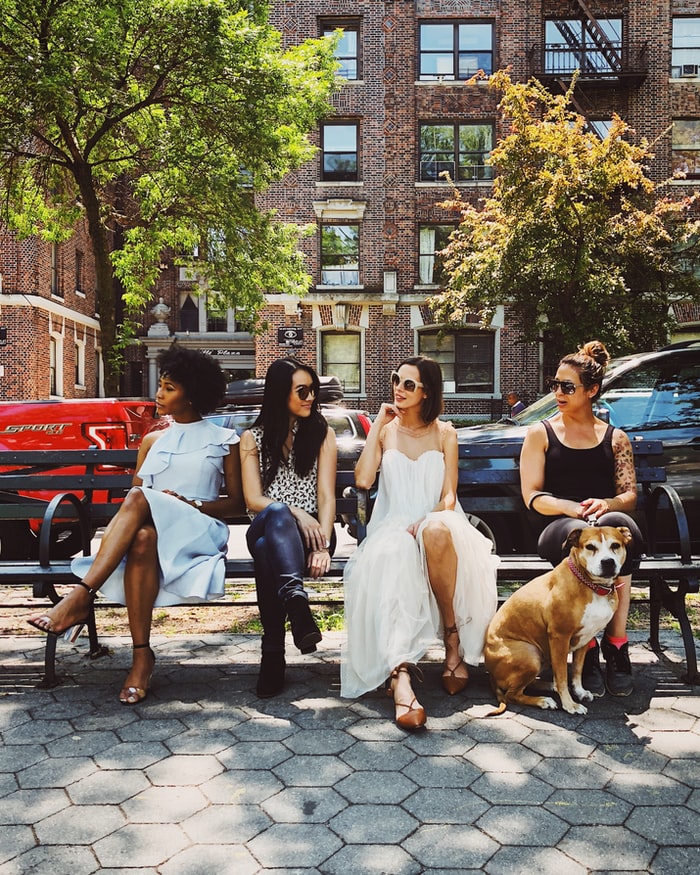
Tip 13: Include Humans
Adding people doesn’t necessarily mean that it has to be your client. You can go around the city and capture some meaningful portraits.
People add personality, story and an extra touch to basic outdoor landscape photography. Each individual will tell a unique story in a photograph.
For instance, if you photograph some shopkeepers selling fresh fruits on the roadside, this story will also hold meaning for the people seeing it. You can name the photograph as well or write a short story when you upload it somewhere.
Tip 14: Focus on The Eyes
Eyes are a significant body part of storytelling, aren’t they? They convey a lot of information by not even uttering a word. They are called the window to one’s soul. If you focus your camera on the eyes, the portrait will look more engaging.
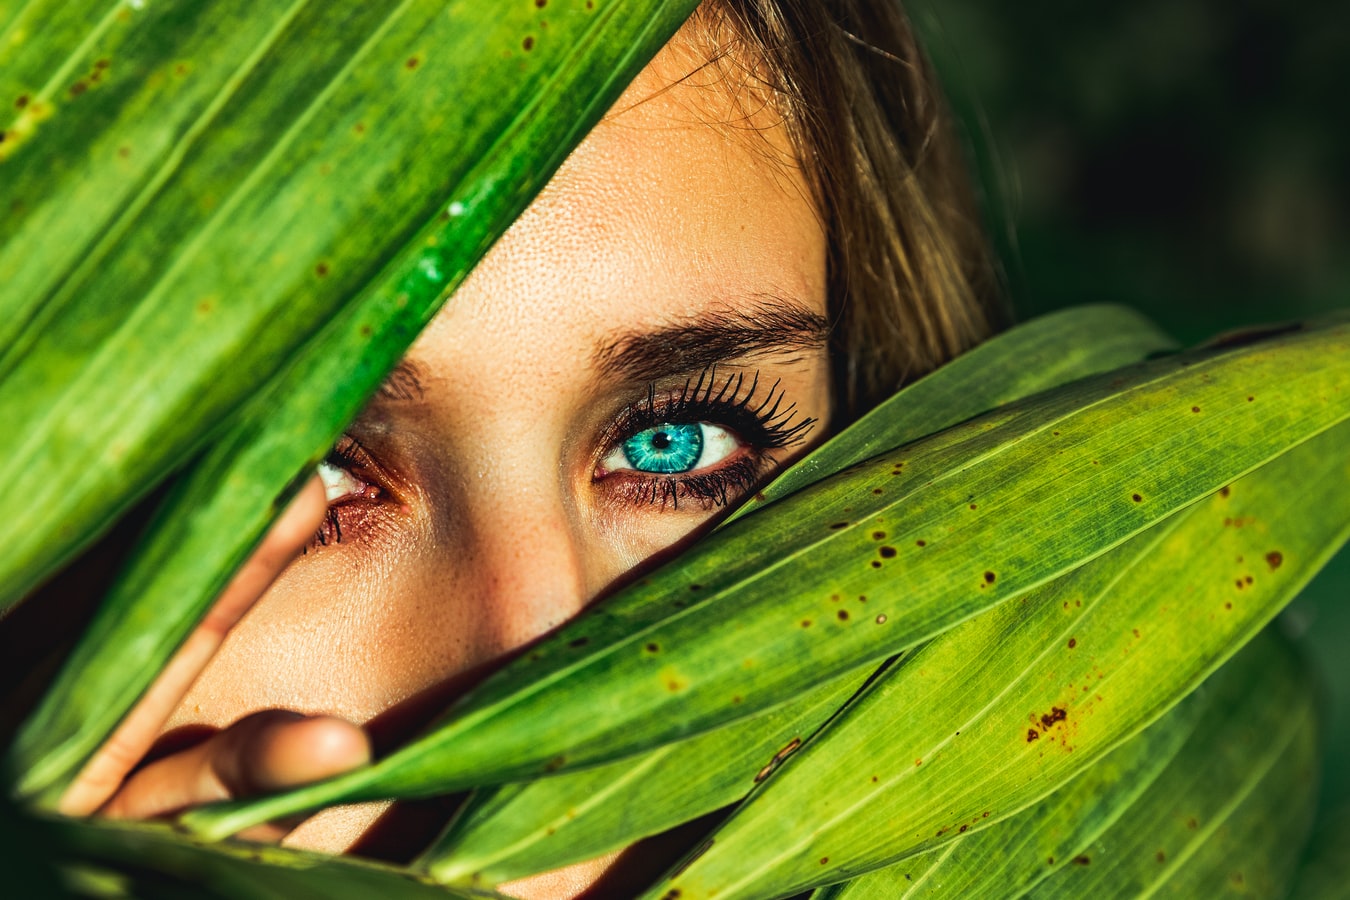
Use your camera lens to take a good focus on the face, mainly the eyes, and use other effects to blur the other exposed body parts slightly.
Tip 15: Shoot in RAW, Always!
RAW is an entire collection of your data during the time of exposure. When you shoot in JPG format, everything except for what the picture processor needs to make a shell portrayal of the picture you proposed to catch is stripped away.
For each change you make to a JPG format photo, you lose more data. But with RAW, you have an immense scope of making altercations, before creating the JPG file.
Tip 16: Make The Most of Cloudy Days!
Clouds provide an extra blanket in the sky and help in soaking the excessive sunlight during outdoor photography. It makes your images look very rich and adds natural saturation.
You need to use your camera’s custom white balance properly on a cloudy day. You also have to understand how light passes through the clouds and understand the changes in white balance throughout the day.
Tip 17: Manage Your Focal Length
Always take photos from a distance of 70 mm or higher. Also, avoid taking it from 50 mm or more minor because that distorts the picture and make the subject look fuller or make the head look swollen.
However, most of the portraits are done between 100-200 mm focal length. So, try to adjust it during your shoot accordingly and make sure not to blur the photos.
Tip 18: Look for Wildlife
Outdoor photography gives a great chance to shoot wildlife. Don’t confuse this with a professional wildlife photographer. They only focus on wildlife, unlike a regular outdoor photographer.
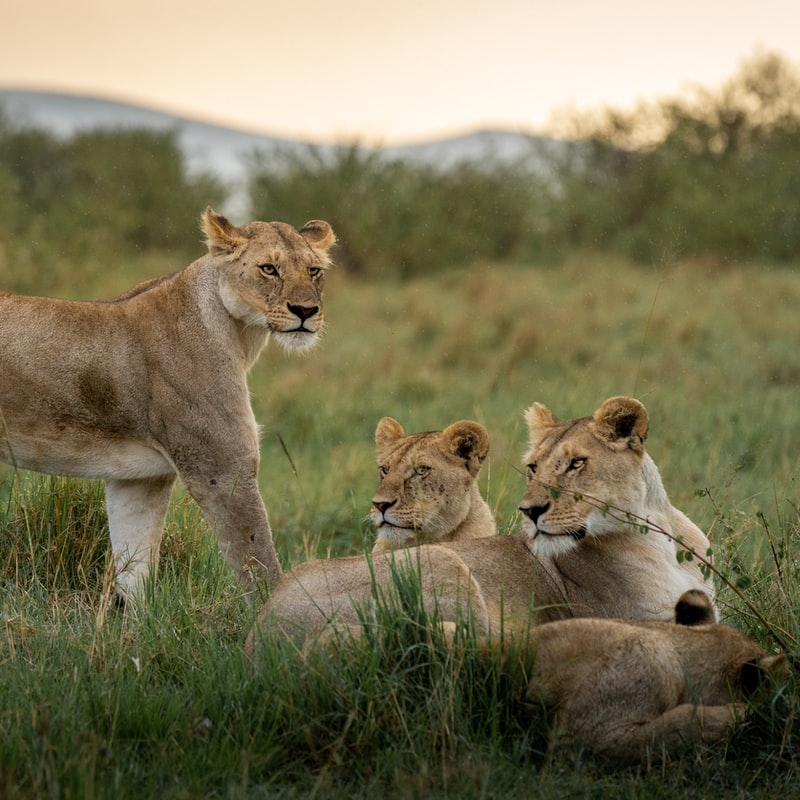
Use your telephoto lens and adjust it between 100-300 mm to get a good portrait. This focal length with help you go to a safe distance from the animals yet get a clear photo.
With wildlife photography, use a small aperture to get a very sharp image. You don’t want a smooth or soft tone portrait of a pack of jungle elephants, do you?
Tip 19: Pack Everything Necessary
While doing outdoor photography, you need to make sure that you have a to-do list ready and follow it accordingly to pack your bags before the shoot. It is essential for outdoor photography because you have no clue for how long you will be outside.
Make sure you pack adequate water and food to keep going for the day. Pack all the camera pieces of equipment such as a variety of lens, a tripod. Because you never know what view you come across and take the perfect photo, you require some specific equipment.
In addition to that, don’t forget to carry a first aid box in case you need it. Carry an umbrella and jackets as well, because no one can trust the weather!
Tip 20: Nightlife
Some of the most realistic and impressive clicks come out during the nighttime. Although, taking a night portrait can be quite challenging. Limited light sources make it difficult to take the best click.
Therefore, you can look for areas where you can find some lighting. The best example can be a campfire. Campfires produce a fantastic source of light. It also gives a nice shadow and warmth effect to your pictures.
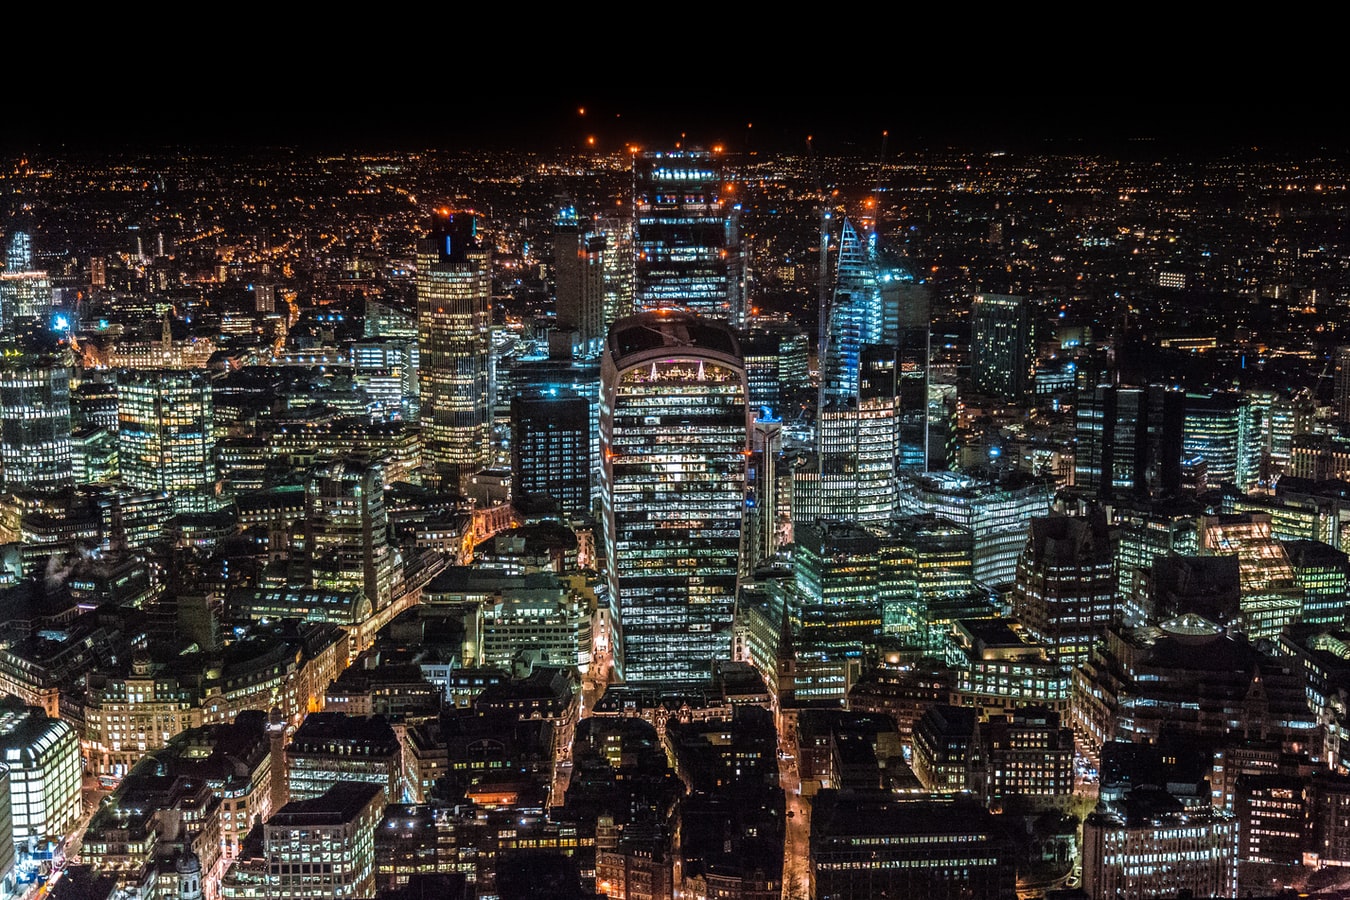
However, you can also use the “night time flash” option on your camera. This feature will also give a nice effect to your nighttime captures. Also, use the smallest aperture if possible, from f/1 to f/4.
Tip 21: Practice More
“Practice makes a man perfect”. This saying can never go wrong. The more you practice, the more you learn and gain experience.
The best outdoor photographers have reached that certain level after putting in much practice and hard work. The best thing about outdoor photography is that you can go out anytime and start capturing shots.
Therefore, to excel further in this field, take many photos by using new and different techniques. Use your editing skills to edit them. Keep this process going, and one day you will become a true professional
Tip 22: Be Creative!
In outdoor photography, you have to be creative. It is to make sure you are showcasing your work well. After you have finished a busy day taking hundreds of photos, what do you think the next step is?
The answer is editing them. If you do not get the desired photos, you have to be efficient in using the photo editing tools.
In addition to that, while you are out for the shoot, you need to think about which lighting suits a photo more, what focal length you should use, fix the shutter speed, etc. You have to be quick because animals and other natural elements will not wait for you to pose!
Tip 23: Look for Leading Lines
Leading lines are essential elements in a photograph. They guide your eyes to the picture and click through them. A leading line could be a railway, a road, an endless coastline or even fences.
These leading lines help the viewer focus on the central image part by guiding them through. It increases the viewer’s interest.
Tip 24: Look for Reflections
Reflections add a new dimension to outdoor photography. Look for shadows and reflection of anything. It can be a human, an animal or even tree branches.
Moreover, reflections make a mind curious when it looks at an image. Your viewers would be more intrigued and interested in that particular photo.
Tip 25: Be Active on Social Media
The social media platform is the most effective way to reach your target audience and share your work. It can be Facebook, Linked In, Instagram, Twitter, etc. For instance, you can create your business Instagram profile and add your portraits to it.
In addition, you can add motivational quotes and short summaries to the portraits to make them look attractive to the public eyes. It would also spread your outdoor photography business name even faster!
Approved Course Centre

Our Courses Partners

Registered with the UK Register of Learning Providers (UKRLP)
UKPRN: 10063816
0 responses on "25 Outdoor Photography Tips and Tricks"